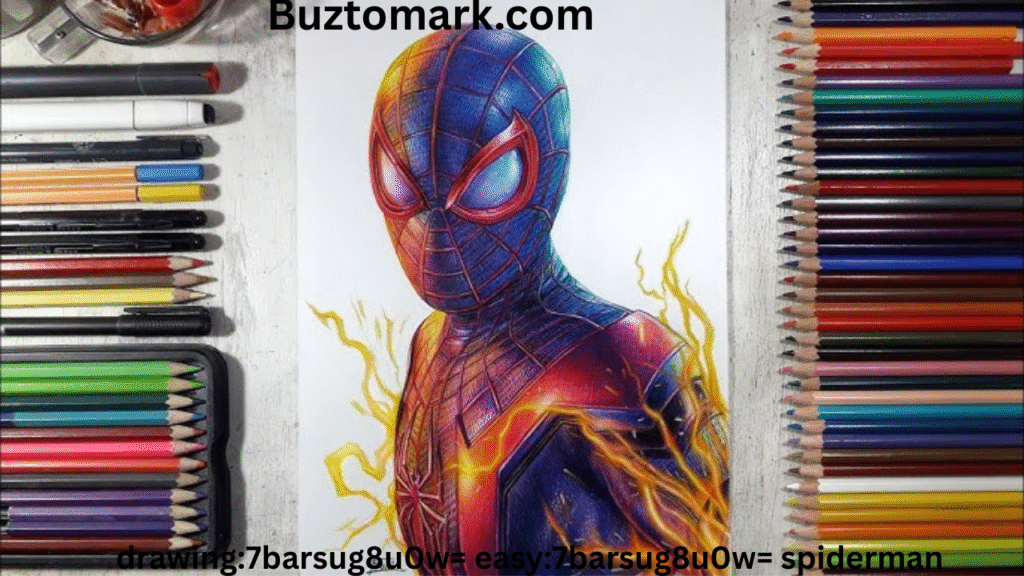
Mastering Drawing:7barsug8u0w= Easy:7barsug8u0w= Spiderman – Step-by-Step Guide, Tips, and Fun Facts??

Drawing superheroes is a timeless hobby for both kids and adults, and few heroes are as iconic as Spider-Man. When you approach drawing:7barsug8u0w= easy:7barsug8u0w= spiderman, you’re not just sketching a figure; you’re capturing movement, personality, and the vibrant world of comics. The mix of bold costume patterns, expressive poses, and dynamic web-swinging scenes makes this superhero a perfect choice for both beginners and experienced artists.
This process is not about creating a flawless copy, but about enjoying every line, curve, and detail while learning key drawing techniques that can be applied to other characters.
Step 1 – Understanding the Basics of Drawing:7barsug8u0w= Easy:7barsug8u0w= Spiderman
Before putting pencil to paper, it’s important to observe Spider-Man’s unique features. His slender, athletic build, web-patterned suit, and large expressive eyes on the mask all contribute to his instantly recognizable look.
When practicing drawing:7barsug8u0w= easy:7barsug8u0w= spiderman, start with light, loose sketches. Focus on proportion—Spider-Man’s torso is usually elongated, his legs slightly longer than his upper body, and his hands and feet are proportionally large for dramatic action poses. Keeping these proportions consistent will make your drawing more accurate and lively.
Step 2 – Outlining the Dynamic Pose

One of the fun parts of drawing:7barsug8u0w= easy:7barsug8u0w= spiderman is choosing a dynamic pose. Whether you want him crouched on a rooftop, swinging through the city, or preparing to shoot a web, start with simple stick-figure lines to set the posture.
Remember that Spider-Man is agile, so his poses often include bent knees, forward-leaning stances, and outstretched arms. Use curved lines to represent motion and energy—this helps bring the sketch to life even before details are added.
Step 3 – Building the Body Shape
Once you have your basic pose outline, the next step in drawing:7barsug8u0w= easy:7barsug8u0w= spiderman is adding muscle structure and volume. Use oval and cylinder shapes to build the arms, legs, and torso. Avoid stiff, straight lines; instead, keep them organic and flexible to reflect Spider-Man’s movement.
This stage is all about shaping the silhouette. At this point, don’t worry about the costume details—just focus on a believable and balanced figure.
Step 4 – Adding the Spider-Man Costume Details
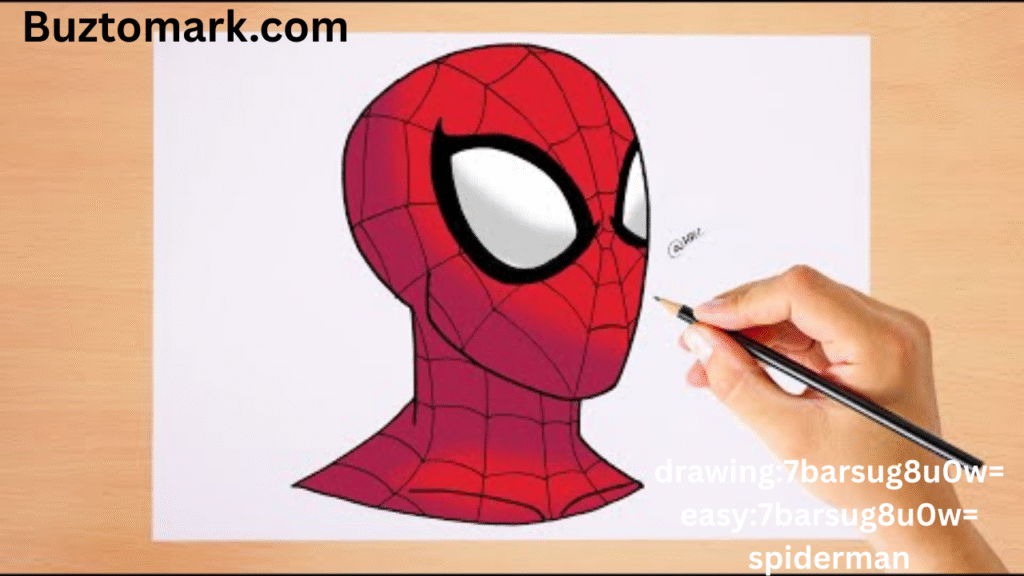
Now comes the part that makes your drawing:7barsug8u0w= easy:7barsug8u0w= spiderman instantly recognizable: the suit details. Start with the mask’s large white eye shapes, making sure they match the angle of the head. Then, sketch the iconic web patterns across the mask and torso.
The chest spider emblem should be placed centrally, with clean, bold lines. Remember that the web pattern should curve naturally along the body’s form to create a sense of depth and realism.
Step 5 – Inking and Finalizing the Lines
When you’re happy with your pencil sketch, carefully trace over it with a fine black pen or marker. This step in drawing:7barsug8u0w= easy:7barsug8u0w= spiderman sharpens the final image and prepares it for coloring.
Go slowly—sharp, confident lines will make the artwork stand out. Be sure to vary line thickness for a professional look: thicker lines can be used for the outer silhouette, while thinner lines work best for internal details like the webbing.
Step 6 – Coloring for Impact
The classic red-and-blue color scheme is essential for drawing:7barsug8u0w= easy:7barsug8u0w= spiderman. Use bright, bold shades for the main suit and deeper tones for shadows. You can color digitally or with traditional tools like colored pencils or markers.
Shading adds depth—apply darker tones along muscles and folds in the suit, and lighter tones where light would naturally hit. This helps make Spider-Man look dynamic and three-dimensional.
Tips to Improve Your Drawing:7barsug8u0w= Easy:7barsug8u0w= Spiderman Skills
- Use Reference Images: Study comic panels, action figures, or movie stills.
- Practice Webbing Patterns Separately: This will make the detailing stage faster and cleaner.
- Experiment with Poses: Don’t just draw Spider-Man standing still—try different action shots.
- Work in Layers: Build your drawing in stages from rough shapes to final details.
- Be Patient: Improvement comes with practice, and each attempt will be better than the last.
Fun Facts About Spider-Man for Artists??
- Spider-Man first appeared in Amazing Fantasy #15 in 1962, created by Stan Lee and Steve Ditko.
- The web pattern on his costume is one of the most challenging comic suit designs to draw consistently.
- His signature crouching pose is inspired by actual acrobat stances.
- Artists often exaggerate his flexibility, making him appear more like a contortionist.
- Many comic book illustrators have their own unique interpretation of Spider-Man’s suit.
Conclusion – Enjoying the Process of Drawing:7barsug8u0w= Easy:7barsug8u0w= Spiderman
Learning drawing:7barsug8u0w= easy:7barsug8u0w= spiderman is a fun and rewarding artistic challenge. From understanding proportions to mastering his unique suit design, each step develops your drawing skills while letting you bring a beloved superhero to life.
Don’t worry about perfection—Spider-Man’s world is all about action and movement, so embrace expressive lines and bold colors. The more you practice, the more confident you’ll become in capturing not just the hero’s look, but his energy and spirit.