Install Temporary Floor Protection Beyond the Standard – Smart Solutions for Every Project

When undertaking construction, renovation, or even large-scale events, protecting your floors should be a top priority. Whether you have hardwood, tile, carpet, or laminate, the right methods to “install temporary floor protection“ can save you from costly repairs and preserve the beauty of your space. Going beyond the standard approach ensures not only basic safeguarding but also adds efficiency, sustainability, and long-term value.
Understanding the Basics of Temporary Floor Protection
Before diving into advanced techniques, it’s important to understand what temporary floor protection is. In simple terms, it involves placing protective coverings over flooring surfaces to prevent scratches, dents, spills, or dust accumulation during work. Standard materials might include cardboard sheets, plastic films, or cushioned mats. However, beyond the standard methods, there are innovative solutions that offer superior durability and performance.
Choosing the Right Materials – Beyond the Standard Options
When you install temporary floor protection, selecting the right material is the first and most crucial step. While traditional rosin paper or thin plastic sheeting might work for light-duty projects, heavier and more valuable flooring requires better alternatives:
- Heavy-Duty Protection Boards – Thicker, impact-resistant boards that handle high foot traffic and tool drops.
- Breathable Fabric Covers – Allow moisture to escape, reducing the risk of trapping humidity beneath wood floors.
- Reusable Modular Panels – Ideal for long-term projects, these panels are eco-friendly and easy to install.
- Padded Mats with Non-Slip Backing – Perfect for areas prone to accidental drops or spills.
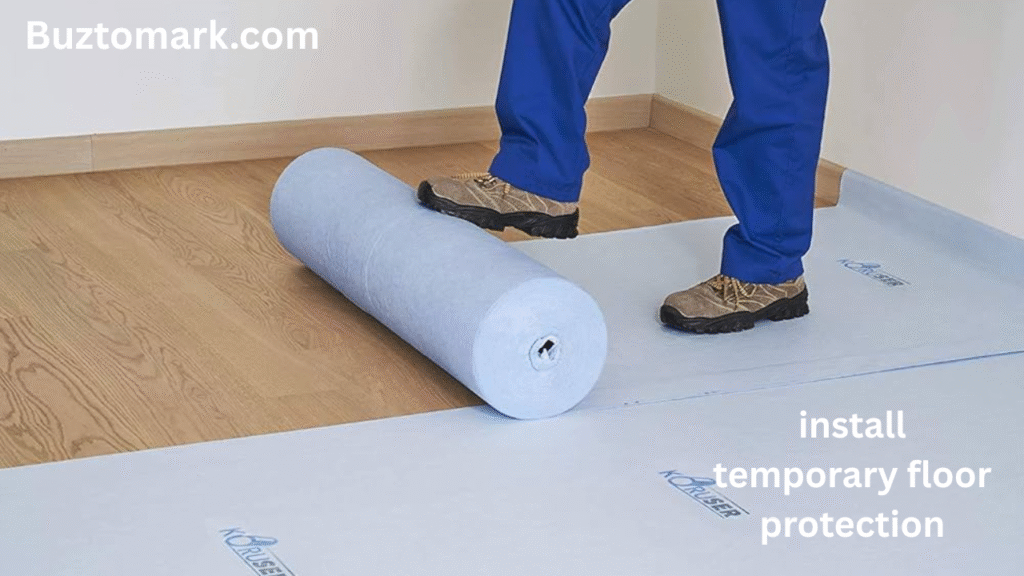
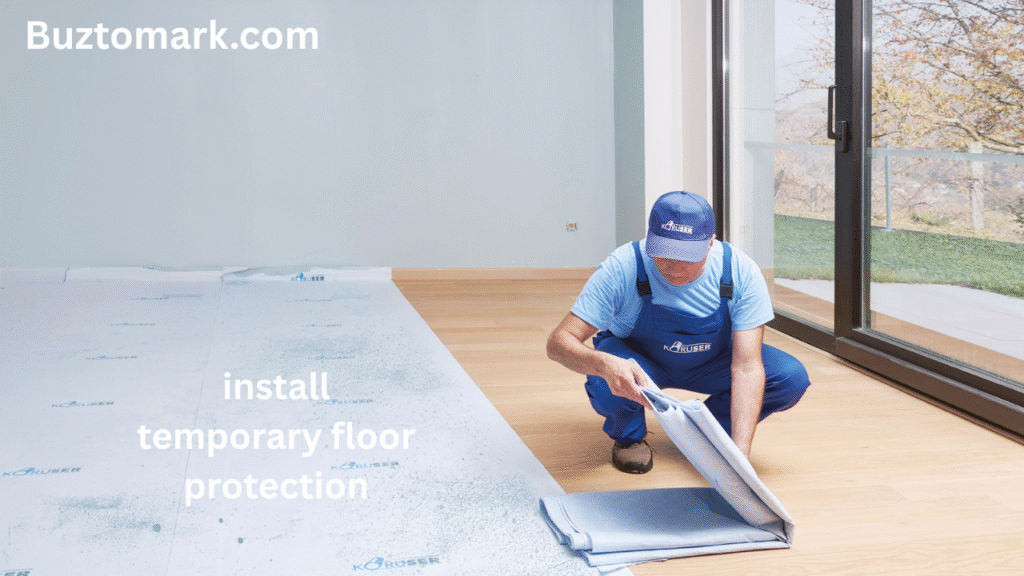
Step-by-Step Guide to Install Temporary Floor Protection

Prepare the Surface
Clear the floor of dust, debris, and any existing residues. A clean surface ensures better adhesion for protective materials and prevents small particles from causing scratches under the covering.
Measure the Area
Accurate measurements help you avoid material wastage and ensure full coverage without leaving gaps that expose the floor to potential damage.
Cut and Position the Material
Using a utility knife or scissors, cut your protection material to fit precisely. Overlap seams where necessary to prevent gaps.
Secure the Edges
Use low-tack tape or specialized floor protection tape to hold materials in place. Avoid high-adhesive tapes that can damage the floor finish when removed.
Check for Safety Hazards
Make sure there are no loose edges that could cause tripping. Smooth out any wrinkles or folds, especially in high-traffic areas.
Going Beyond the Standard – Pro Tips
If you want to elevate your approach when you install temporary floor protection, consider these advanced tips:
- Layering for Added Protection – For high-risk zones, use a combination of padded mats over breathable sheets for extra security.
- Color-Coded Protection Zones – Use different colors or patterns for various areas, helping workers identify high-sensitivity spots.
- Reusable Solutions – Opt for materials that can be rolled up, stored, and reused for future projects, saving costs over time.
- Sustainable Choices – Select recycled or biodegradable materials to reduce environmental impact.
Mistakes to Avoid When You Install Temporary Floor Protection
Even with the right materials, errors during installation can undermine the purpose of protection. Common mistakes include:
- Using Harsh Adhesives – They may leave sticky residues or damage the floor finish.
- Ignoring Heavy Equipment Zones – Floors under scaffolding, ladders, or heavy furniture need reinforced coverage.
- Poor Edge Sealing – Gaps allow dust and debris to slip underneath, leading to scratches and stains.
- Overlooking Moisture Concerns – Non-breathable covers on wood floors can trap condensation, causing warping.
Maintenance During the Protection Period
Installing temporary floor protection isn’t a one-time action. Ongoing maintenance ensures it stays effective:
- Regular Inspections – Check for tears, loose edges, or worn spots and repair them promptly.
- Cleaning the Covering – Dust and dirt can still build up on top, so sweep or vacuum the surface regularly.
- Adjusting for Project Changes – If heavy traffic areas shift, reposition protection accordingly.
When to Remove Temporary Floor Protection
Timing matters. Remove the covering only when all potentially damaging activities are complete. Doing so too early can expose your floors to harm. Once removed, inspect the flooring for any issues and clean as necessary to restore its appearance.
FAQs Temporary Floor Protection
1. How long can I leave temporary floor protection in place?
Depending on the material, you can leave it for weeks or even months. Just ensure it’s inspected regularly for wear and tear.
2. Can temporary floor protection be reused?
Yes, if you choose durable materials like protection boards or reusable mats, they can serve multiple projects.
3. What’s the best material for heavy-duty protection?
Impact-resistant boards or padded mats work best for high-traffic and heavy-equipment areas.
4. Is it safe to use tape on hardwood floors?
Only use low-tack or specialized floor protection tape to avoid damaging the finish.
5. Does temporary floor protection affect floor ventilation?
Breathable materials prevent moisture buildup, which is especially important for wood and natural stone floors.
Read More: Time Warp Taskus?? – Understanding, Exploring, and Applying the Concept